So now I have an overwhelming amount of sticky rice, it’s time to make some rolls. Nori = Seaweed Maki = Rolls.
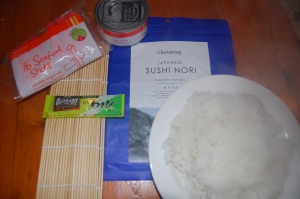
I did cheat a little and bought a ‘Sushi Making Kit’ though really this was mostly for the rolling mat. The fact it came with all the necessary ingredients was simply a bonus. On with the roll.
Ingredients
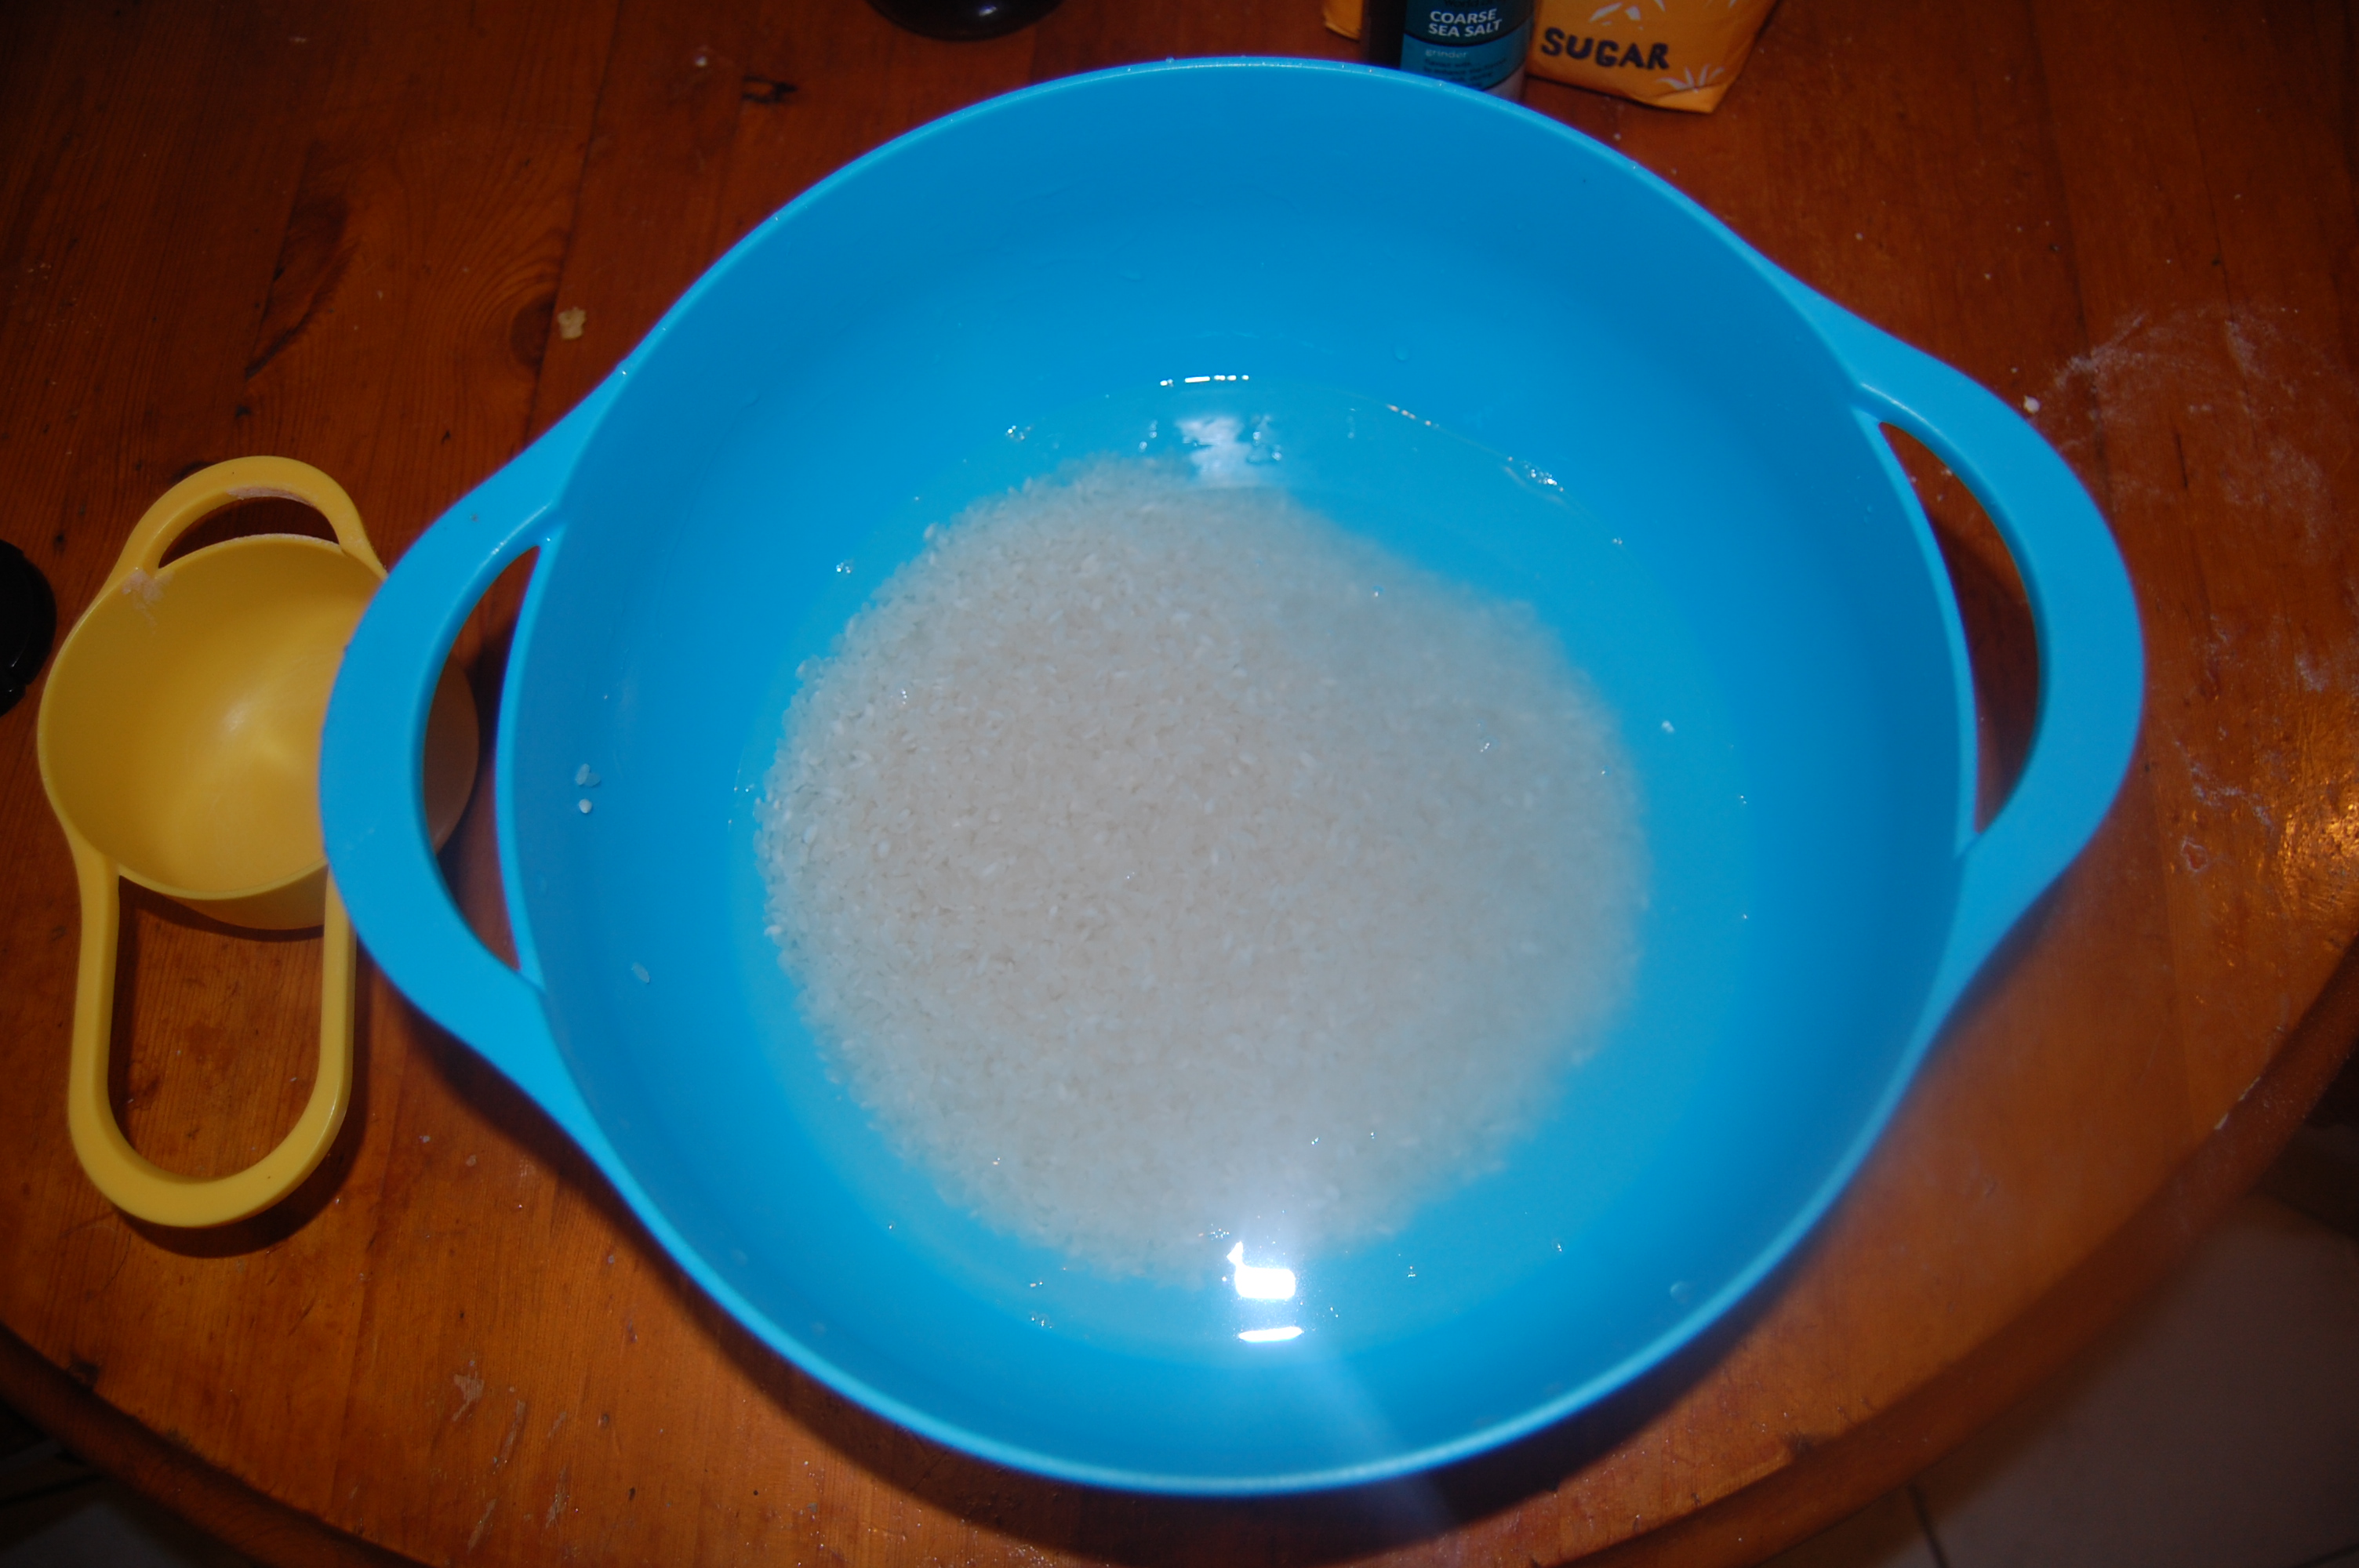
Sushi Rice
Nori Sheets
Tuna Mayonaise
Wasabi
(Patience)
Now there’s not a huge amount to rolling sushi step-wise. Technique-wise it’s beyond. According to Youtube videos I watched to hone my rolling skills, Sushi Itamaes train on the job training in Sushi creation for anything as long as 20 years to gain this title. I doubt I’ll be crowned an Itamae anytime soon.
Tuna Maki
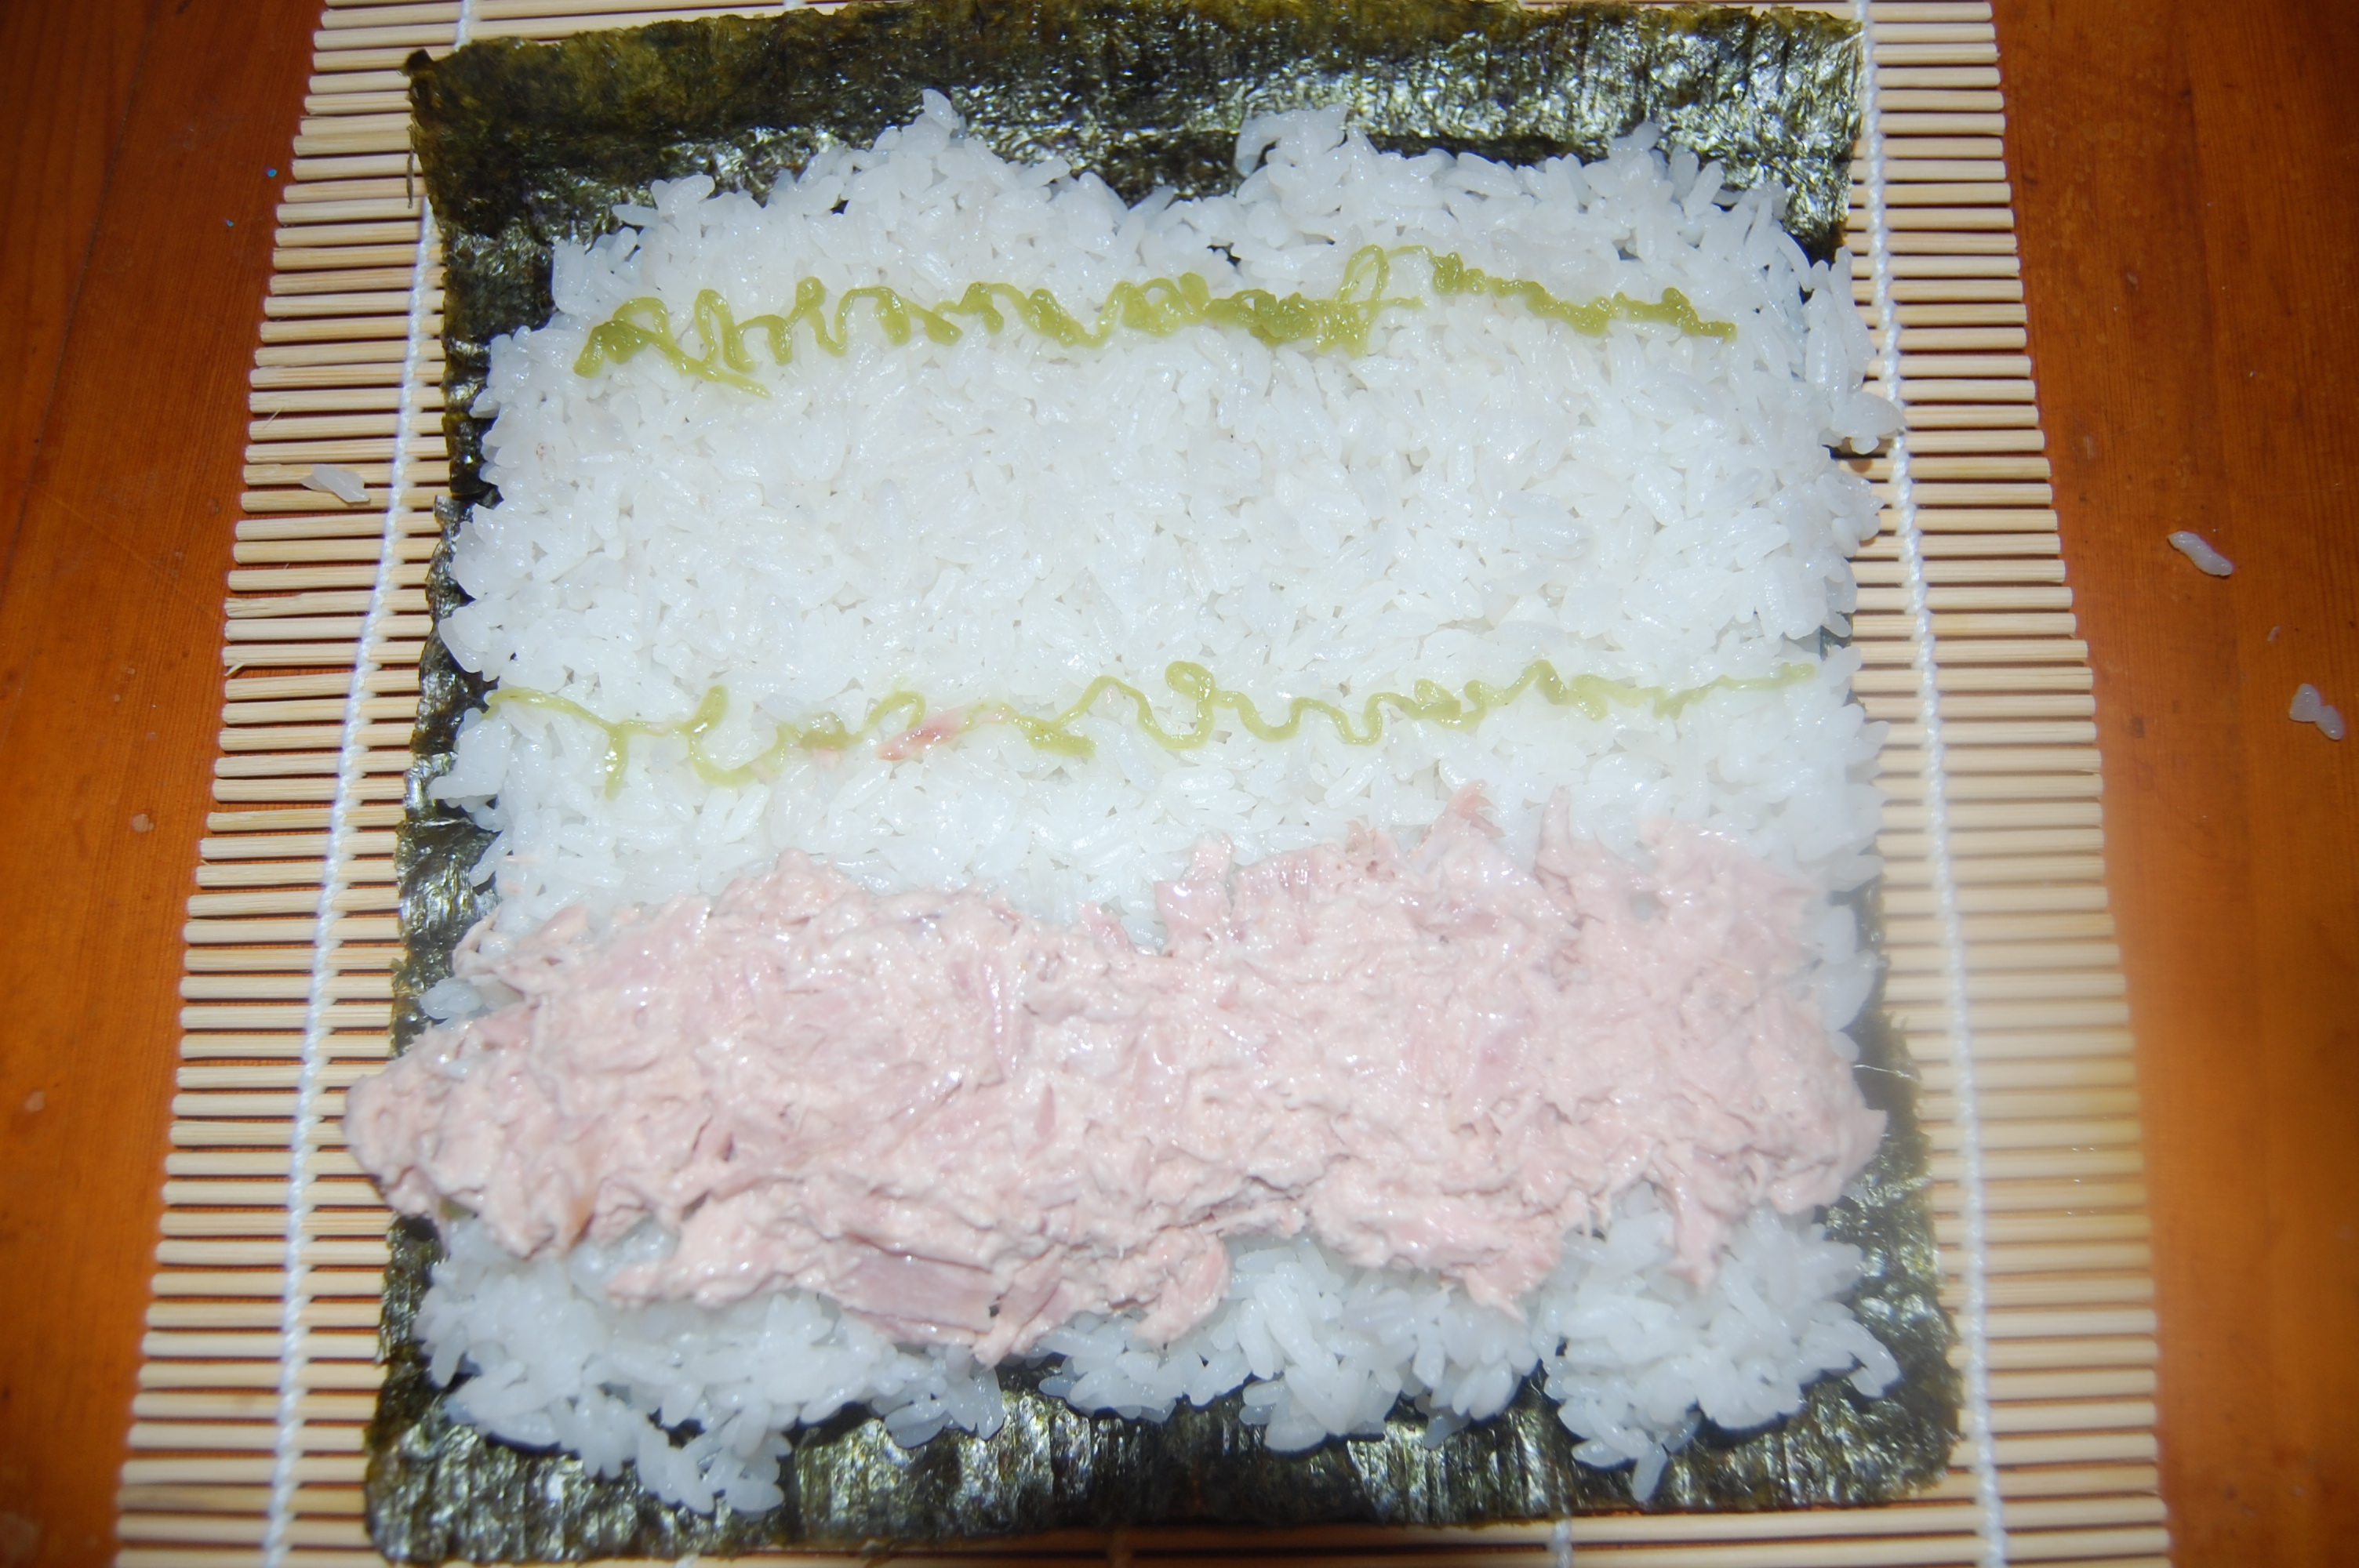
1. Place a sheet of Nori shiny side down on the bamboo mat. Make sure the mat’s sticks are horizantal to you.

2. Gently press a layer of rice over the sushi leaving a 3/4 inch gap at the top of the nori – pushing not mushing. Respect your rice.

3. About 1/2 inch from the nori edge nearest you, smear a horizontal line of wasabi. I put three lines at intervals as I love wasabi.

4. Along the line of wasabi, lay the tuna filling.

5. Ready to roll. Pinch the bottom corners of the nori, hold the filling in place with both middle fingers. Roll nori edge over filling to the rice on the top side. Using the mat, roll until only the clear edge of nori furthest away from you can be seen above the mat.

6. Gently squeeze along the length of the mat. Dampen the clear edge of the nori and roll the maki onto it sticking the roll shut.

7. Slice your maki.
Tah Dah.
I think I may have just made the fattest Maki Roll in the world. I watched a Sushi Rolling video by Epicurious and theirs looked like mine, their video also received a fair amount of negative comments regarding the authenticity of the roll. I then found a video, after my attempt was done, with a Japanese Chef on an American cookery show and her roll was perfect. I think the instructions on my Japan-easy kit weren’t hugely clear – especially concerning the “leave a bit of nori out of the mat” part. Her video was excellent and I will totally follow it next time.
TASTE – Rice was plain, blame previous Sticky Rice recipe for not telling me what to do with the salt, sugar and vinegar. As a whole was lovely and filling. Would prefer a larger selection and make a meal of it next time.
DIFFICULTY – Hard Hard Hard!! If Japanese Sushi chefs train for up to 20 years I doubt a London girl in the Welsh Valleys is going to produce anything stellar anytime soon. Arranging the filling is so precise, rolling more so. Does give me a good excuse to make more sushi though.
COST – Hmm. Sushi rice isn’t cheap, but I have seen alternatives used with the same effect for a fraction of the cost. I wanted to go authentic for the first go though. Filling, you make of it what you want – 80p cucumber veggie roll or 10quid super salmon roll. Nori is 3.99 for a pack of unknown sheet quantity. Ordering online or going to an Asian store that stocks larger quantities would be cheaper than buying from the general store where World Items are a speciality.